Do you remember my sliding pocket door that I had to dismantle ?
Well, of course I had a project in mind: to stain the door which is not in such bad shape, but which has several paint stains (I had nothing to do with it) and scratches.
So, I present the steps in photos of my project. This was spread over several weekends (5 in all, the time to let the layers of stain dry well).
Total cost of the project?
- $ 25 for the handle
- $ 2 for the sanding sponge
- $ 10 for the stain brush
- The dye did not cost anything since it comes from what the former owner had left behind.
Steps to stain a door and install a handle:
Initial state

1 – Sand the surface
First, you have to sand the surface of the door (especially in damaged areas) and fill the cavities and other defects with the help of pore filler. I used natural shade filler.

2 – Apply a first coat of stain
Then, make a first coat of stain using a wide brush with soft bristles.

3 – Appreciate
Enjoy the beautiful look after the second coat of stain.
4 – Installation of the handle
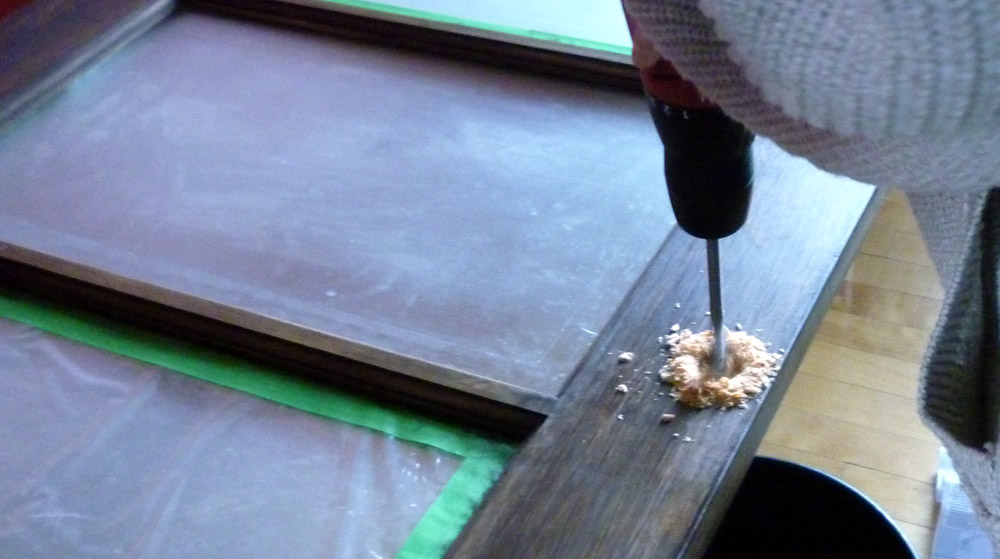
Drill holes to install a handle.

Finish the hole with the jigsaw.

Finally, apply a few touch-ups of stain. The door is ready to receive the Hardware 20/20 handle.

Final result

Here is the end result! Much more chic than originally. What do you think of the result?
Leave a Reply